The Smallest Barrier: Specifying and Replacing Ventilation Mesh on a Brachypelma Lid
Photo: Richard Avery, CC BY-SA 4.0, via Wikimedia Commons
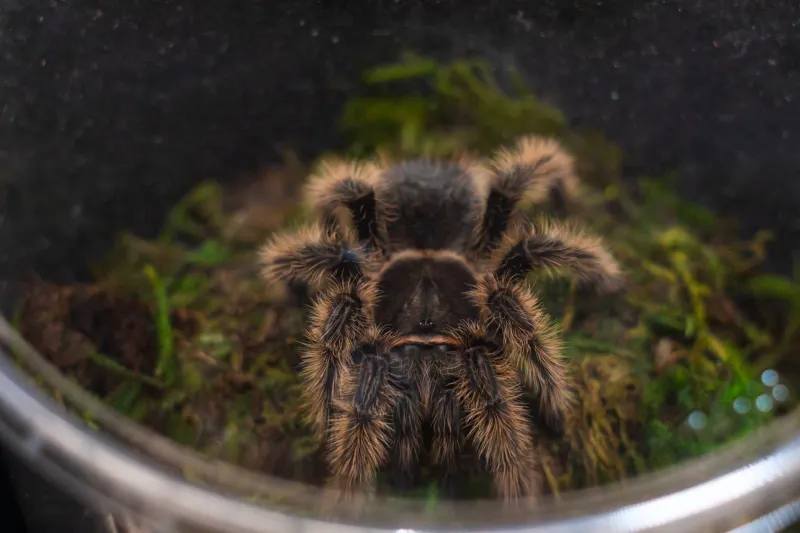
Ventilation mesh is usually inherited rather than chosen. A second-hand glass tank arrives with a lid already drilled, a rectangle of woven aluminium fixed into place, and the keeper's attention moves swiftly to substrate depth and hide placement. That small barrier deserves closer scrutiny. In a Brachypelma enclosure it must do three awkward jobs at once: move air, hold humidity within a workable band, and prevent a determined spider from testing the limits of the lid. The mesh is also the component most likely to be damaged by cleaning, corrosion or an improvised repair.
Begin with the aperture, not the material
Mesh is often sold by material and wire diameter, but the aperture is the dimension that matters most to a tarantula. For adult Brachypelma, a woven mesh with openings of roughly 1.5 to 2 mm is a sensible starting point. For juveniles and slings, 0.8 to 1.2 mm is more appropriate. The opening should be small enough that the carapace cannot pass through it; an aperture that admits the abdomen while refusing the carapace is an escape risk, not a compromise.
There is a counter-pressure here. Extremely fine mesh, below about 0.5 mm, restricts airflow and clogs readily with dust, shed setae and condensation. In a British home during the heating season, that can push humidity upward and leave stagnant air beneath the lid. The aim is not the smallest possible hole but a sensible aperture combined with adequate total open area. A lid with several modest ventilation fields will usually serve better than one small patch of very fine mesh.
Materials in practice
Woven aluminium is the default in many imported glass tanks. It is light and inexpensive, but it oxidises in damp conditions, and cut ends can become brittle and sharp. A lid that looked sound at purchase can reveal loose strands after a year of misting.
Stainless steel woven mesh is more expensive and considerably more durable. It resists corrosion well and holds its shape, but cut edges still require framing. Unframed stainless wire can be just as capable of catching a claw as aluminium.
Plastic and acrylic mesh is cheap and readily available from garden centres, but it can warp near heat sources and becomes brittle with age. Horticultural insect mesh is often sold with inconsistent aperture sizes, so it should be measured rather than trusted. Fibreglass mesh is fine and light, but it frays at cut edges and is better suited to temporary barriers than to a permanent lid.
Perforated sheet, in stainless steel or aluminium, is rigid and predictable. It offers fewer loose strands and a clean edge if properly finished, though the range of hole sizes is narrower and the weight is greater. For DIY enclosures, it is often the most straightforward route to a secure, inspectable lid.
Where claws and setae catch
A tarantula's tarsal claws are designed to hook. On rough cut wire, loose strands, burrs or an oversized aperture, that same mechanism can become a trap. The risk is not that mesh is predatory, but that it is irregular. A climbing Brachypelma may catch a claw, suspend itself awkwardly or lose a claw in the attempt. Fine mesh can also abrade setae and claw tufts when an animal repeatedly tests the lid.
Inspection should therefore be tactile as well as visual. Run a finger along the underside of the lid, with care, to detect protrusions. Look at the corners, where mesh is most often cut short and sealed imperfectly. Check for gaps between mesh and frame, and for any wire end that points into the enclosure rather than away from it.
A safe replacement routine
Replacement is best treated as a small project rather than a quick repair. First, move the spider to a secure temporary container with a lid that closes firmly. Work away from the enclosure so that old silicone, wire fragments and dust do not enter the substrate.
Measure the ventilation field and the frame width before buying mesh. Cut the new mesh oversize by 15 to 20 mm on each side so that it can be captured by a frame or sealed well beyond the opening. For glass lids, neutral-cure aquarium silicone is the usual choice; avoid products containing fungicide or acetic-cure silicones that release strong odours while curing. Apply a thin bead, press the mesh into place, weight it evenly and allow the full cure time stated by the manufacturer, often several days.
For DIY enclosures, a rigid aluminium frame or stainless washers and bolts will give a more serviceable result than silicone alone. No wire end should be left exposed inside the enclosure. Avoid hot glue as a structural fix: it can fail near warmth and may leave gaps that are difficult to see.
Refit the lid only when it seats squarely. Check the corners and the hinge or clip points. A strip of paper should not slide through any perimeter gap. If the lid is warped, replace the lid rather than compensating with extra mesh.
Aftercare and routine checks
For the first week, monitor temperature and humidity as you would after any enclosure change. A tighter mesh may alter the balance between ventilation and moisture retention. Brush the mesh gently during routine cleaning and replace any section that shows corrosion, loose strands or distortion. Keep a note of the mesh specification with the enclosure records so that future replacements do not become guesswork.
The lid is a life-support interface, not a finishing detail. Specifying its mesh carefully, and replacing it with the same care, is one of the quieter forms of good Brachypelma husbandry.